First Template
Templates are a key part of creating events. The exciting part? You are not limited to just one, you can create multiple templates.
If you are confused on how to create a new template follow this simple guide to setup!
New Template
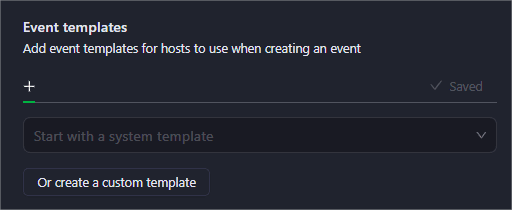
- Once you are in Atomcal, head to calendar settings, then click on Event Template. From there, click the (+) button to create a new template from scratch for your events.
Note: When you create a new calendar a helpful guide will appear to walk you through creating a new template, perfect if you have missed any part of the documentation.
Template Details
- Name your template
- Add tickets, every event has its own type of tickets that allow guests to participate in the event.
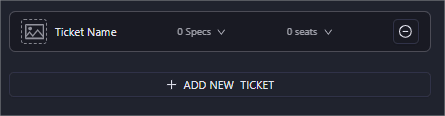
- Edit ticket name according to your personal interest.
- Edit guest specification roles according to the event you aim to create.
- Seats limit control how many guests can have this ticket.
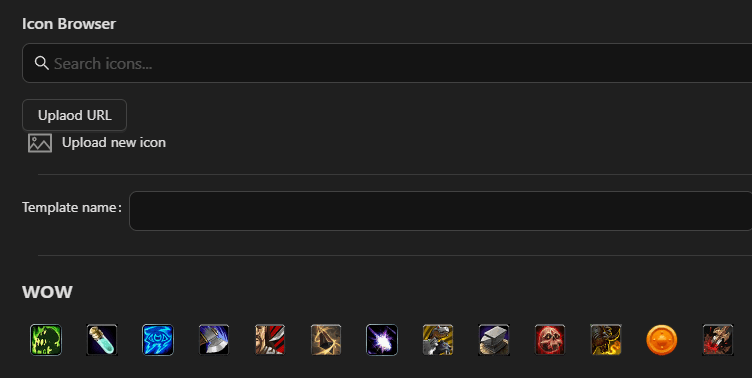
- You can add an icon or a image for the guest tickets by using the icons at the top. (Optional)
💡Got Questions?
1.Difference between template and ticket?
Templates make it easier to create events, and you can set up multiple templates. One of the key benefits is that you can define tickets in advance, which helps streamline guest management.
Tickets are part of each template and allow guests to show their interest in attending the even.
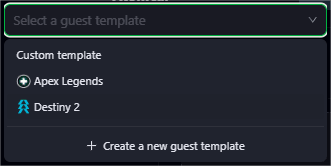
2. How to name a template?
Go to the guest template file and click on Custom Template. From there, users can give the template a name of their choice. They can also choose an icon or upload their own icon to represent the template. You can take a look at the above screenshot attached to understand better.
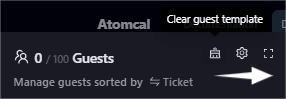
3. How to use different template for different or new event?
When you're setting up an event, you will see a refresh icon in the guest list section. After clicking on the refresh icon, the existing template will be cleared so you can pick a different one.